 Hello and welcome to Foods in the Fast Lane
Let me take a moment to introduce you to my site. This is a blog or a personal website, created and maintained by me, Gail Churinetz. Unlike most of the large recipe sites that you might find on the Internet with tens of thousands of recipes, Foods In the Fast Lane is my personal website. All recipes have been developed and tested by me, my family, or my friends. I invite you to try these recipes, and if you would like, leave constructive feedback in the comments. My main goal for my blog is to interchange life experiences with food.
Growing up in an Italian family, food was always a big part of our gatherings. I learned very early on that food is what makes people/family come together and what really makes them feel good. We all have childhood memories of a certain meal or recipe that will always remind us of those early days of our life enjoying comforting food. I hope some of my recipes will bring back those memories to you!
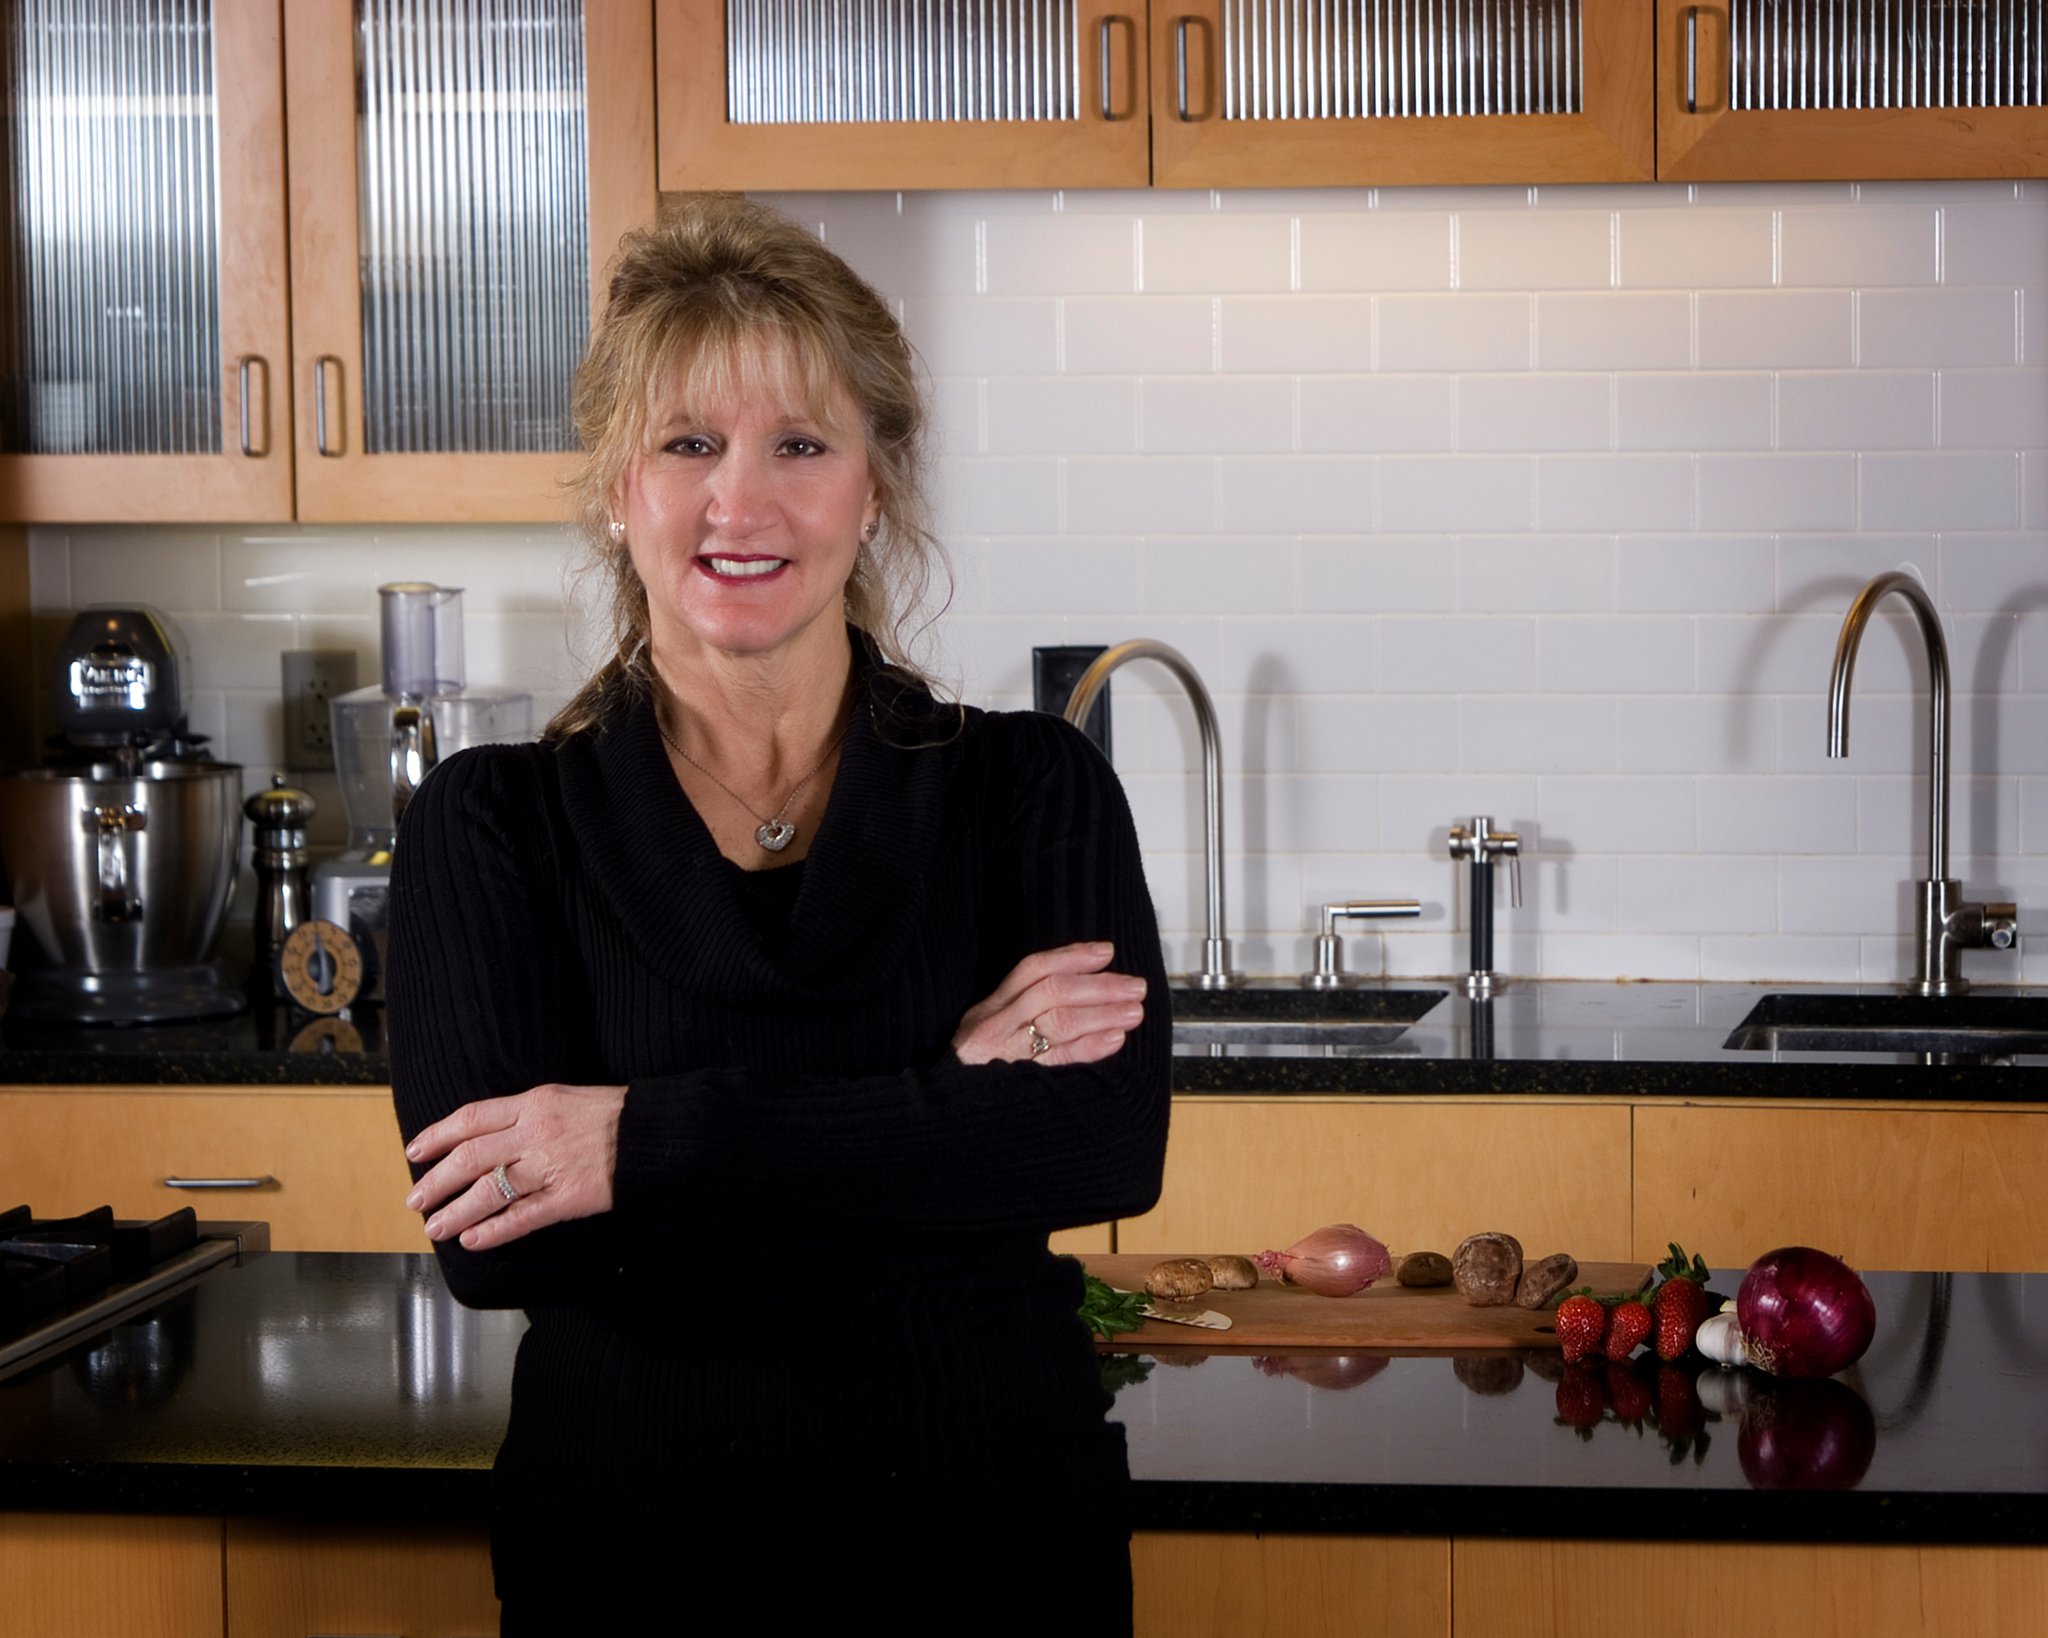
About Me
I began cooking when I was very young. As a matter of fact, I would make “mud burgers” along the river we lived by and served them on “wheat rolls” using the wheat growing in the fields. I had no idea that one day I would be on national TV; cooking, competing and demonstrating my recipes. I have been fortunate enough to compete and win Food Networks “Ultimate Recipe Showdown” hosted by Guy Fieri. What a wonderful experience that was.
My cooking career (so I call it), began when my husband Bob transplanted us from Connecticut to Germantown, Tennessee. I was in search of finding the best pizza I could in Germantown, as pizza was a BIG part of our weekly family dinner. Unable to find anything that resembled the awesome New Haven, CT, style pizza, I began experimenting with recipes for my own pizza. My secret ingredient – Connecticut water!!! One thing led to another and before I knew it I was giving cooking lessons in my kitchen for a new neighbors organization. When my kitchen became too small for those interested in taking these classes, I moved to a local cooking school. Unfortunately, years later that school closed. Then, to my delight, Viking Cooking School opened their doors in Memphis, TN. When I heard of that move I quickly applied for position of cooking instructor. I loved teaching at Viking, it was an opportunity to further myself as a chef. Several years later I was offered an unbelievable position at ACH Food Companies as a Food Consultant, where I developed recipes for the home cook as well as baking mixes. Best job ever!!!! Unfortunately ACH closed the Cordova office years ago.
Over the past decade I have competed at the International Pizza Expo, became a member of the United States Pizza Team and now own my own in home pizza party business. https://gailspizzaparties.com
A little more about me
My husband and I have two children, Rob, and Jenny. We were blessed to have a granddaughter, Chloë, who has become my protege. My cooking accomplishments include the following:
- Winner of Food Networks “Ultimate Recipe Showdown” Season 3
- Member of United States Pizza Team
- Member of “Galbani Cheese” Pizza Team
- Winner of Pizza Therapy Worldwide Pizza Recipe Contest
- Frequent guest chef on CBS affiliate morning show, “Live at 9”
- Recipe developer for ACH Cookbook “Cookin for a Livin’”
- Raised over $50,000 for charity by donation of dinner/pizza parties
- Owner of “Gail’s Pizza Parties”. https://gailspizzaparties.com
I hope you enjoy my blog and I look forward to your comments. Also, if you have a favorite family recipe that you just aren’t sure how to make, send me an e mail and I’ll help develop it for you!

